Rocket Docs
Parts
Parts
Prerequisites: Have Purchase orders created
Add New Parts
To create a new part click on the "Add New Part" button on the top right of the parts list. Or in left side menu click on Parts, then click on "New".
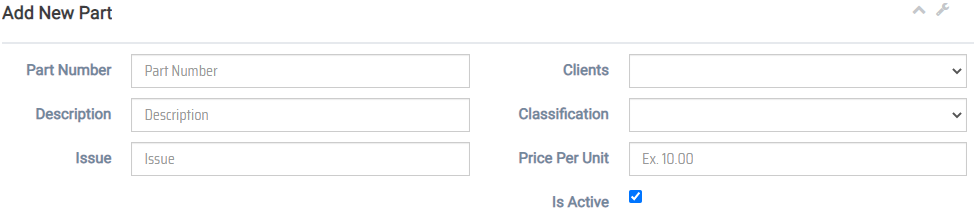
In this window we should enter all the information for the part that we wish to add to the system.
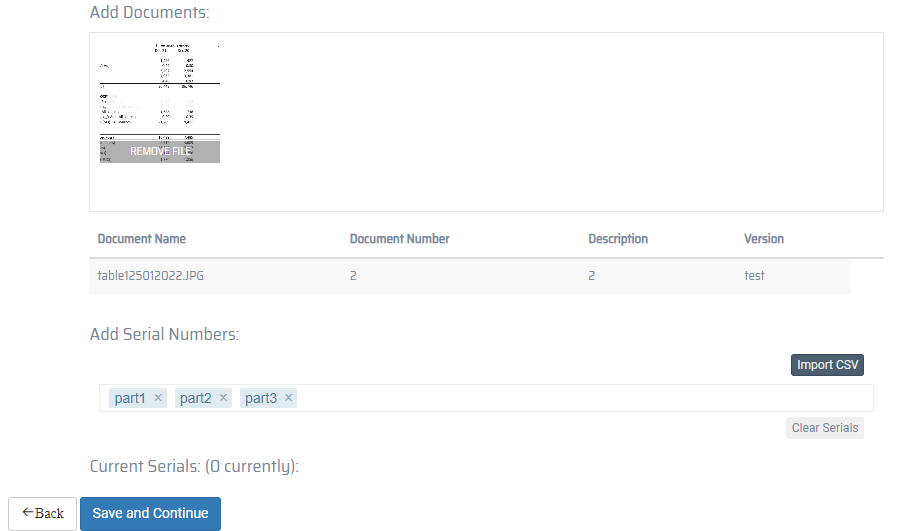
On the bottom of the part creation page we can add all the serial numbers for that part either manually or by importing them from a .CSV file. Once we are satisfied with the information on this page we can finish the creation process by clicking on the "Save" button.
Search Parts
On the left sidebar we click on Parts. On the right side we can see a list containing all the part numbers. By clicking on the Toggle Inactive button found on the top left of the page we enable a new field on each column header on which we can apply filters to the list.
Edit Parts
First we select "Parts" from the left side menu, then we click on "View All". We are presented with a list containing all the parts stored in the system. Then we select a part and in it's row we click on the "Edit" button located at the right.
We are now presented with a window very similar to the one for the creation of new parts but with all the information already filled with the data corresponding the selected part and we can edit the following fields: Part Number, Description, Version, Clients, Clasification, Price per Unit, Is Active, Add Documents (if needed) and Add Parts (if needed).
After editing all the field that we need we can click on the "Save" button to finish the process.
Approve Parts
The part approval can only be done with a user account with either the Engineer or Administrator role.

All the recently created parts should have the "Part Pending" label which helps us identify the parts that require approval, these parts could not be used on a Purchase Order until they have been approved. After we find the part that we want to approve we can click on the "Manage" button.

We are presented with a new window where we can approve or reject the part. First we need to add some comments. Then we can click on the "Approve" button to approve the part. or Click on the "Reject" button to cancel the part.
If a part is approved, Optis takes us back to the Parts list and the part that we just approved should have now the "Part Approval" label.

The appproved parts can now be used inside the Optis system, the next step is to create a new Purchase Order with the approved part.
